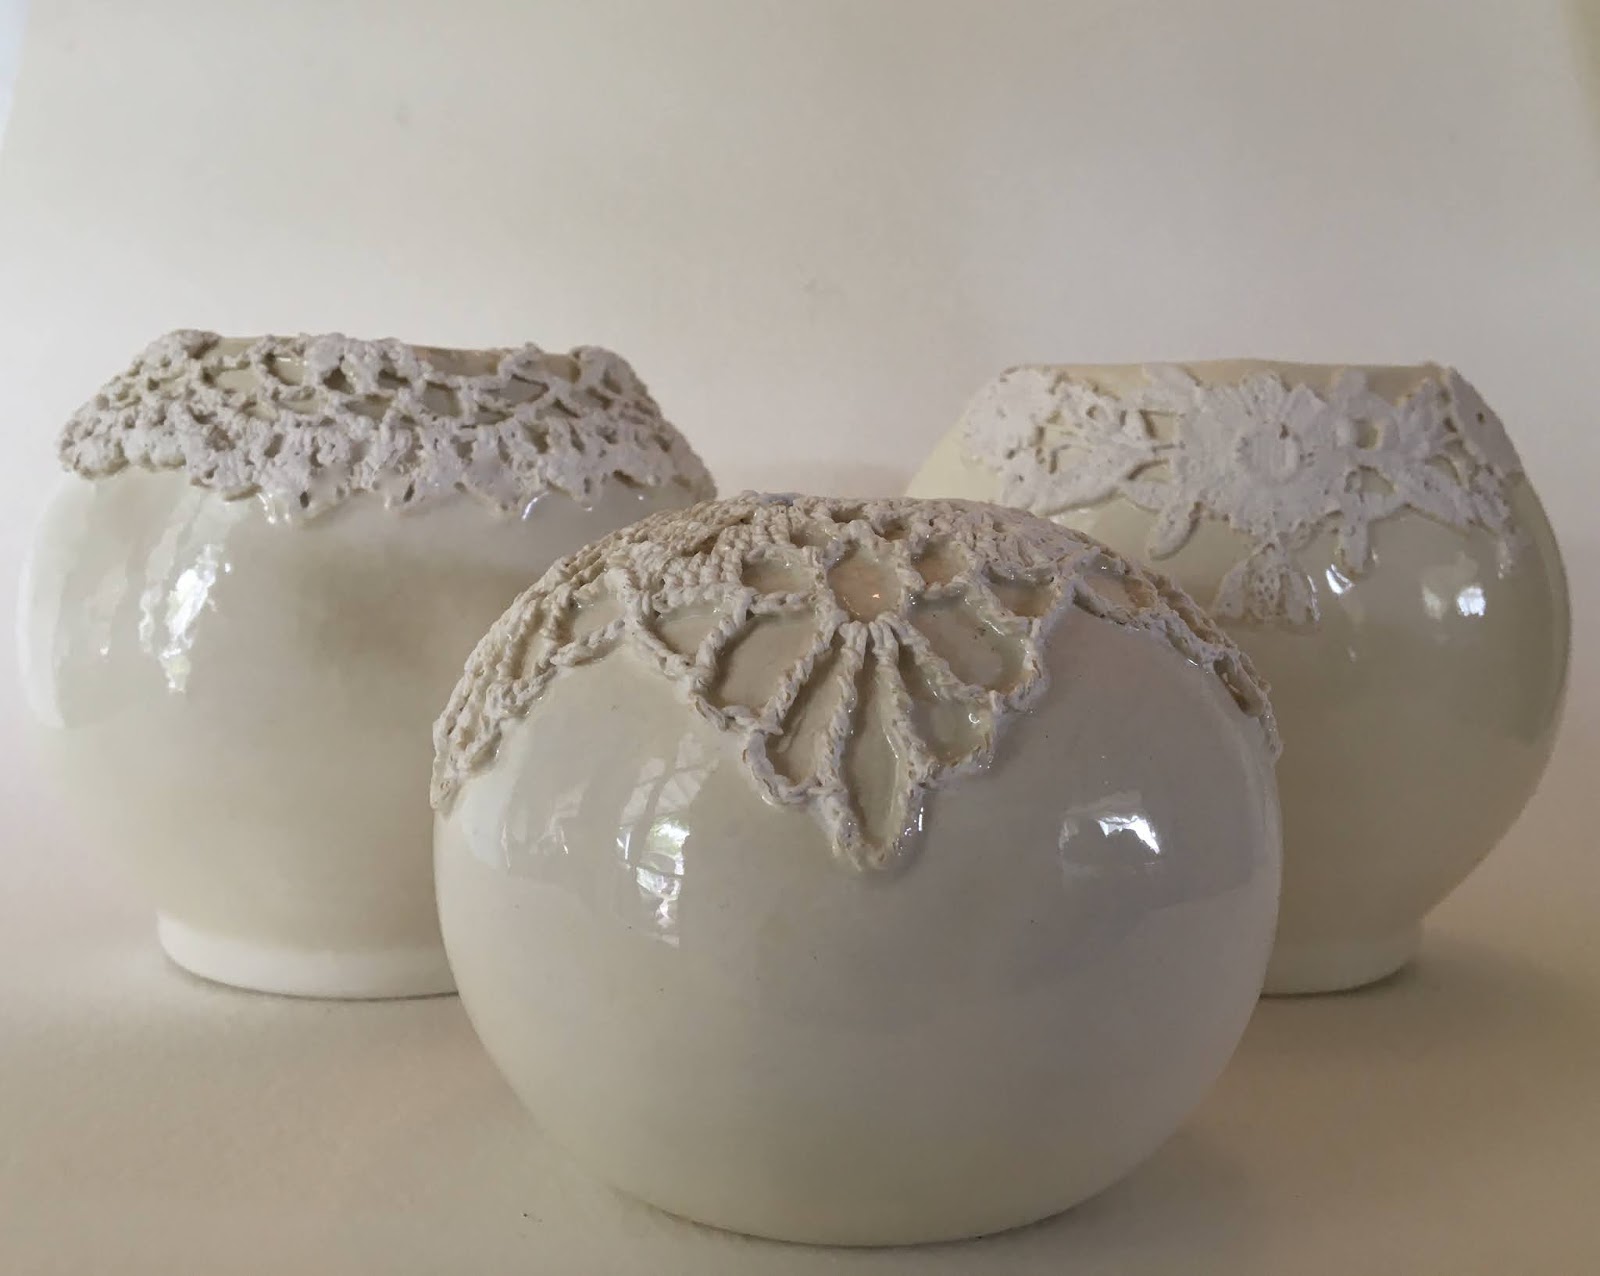
With everything closed down due to Covid,
I am unable to get my ceramic designs fired at school.
So I've been inspired to pull out my sewing machine and create some new apron designs.
I actually wear aprons all the time.
When I'm playing with ceramics,
when I'm working in the garden, and sometimes, even when I remember to put them on before I begin painting.

This is my latest.
A red striped linen apron embellished with appliquéd embroidery.

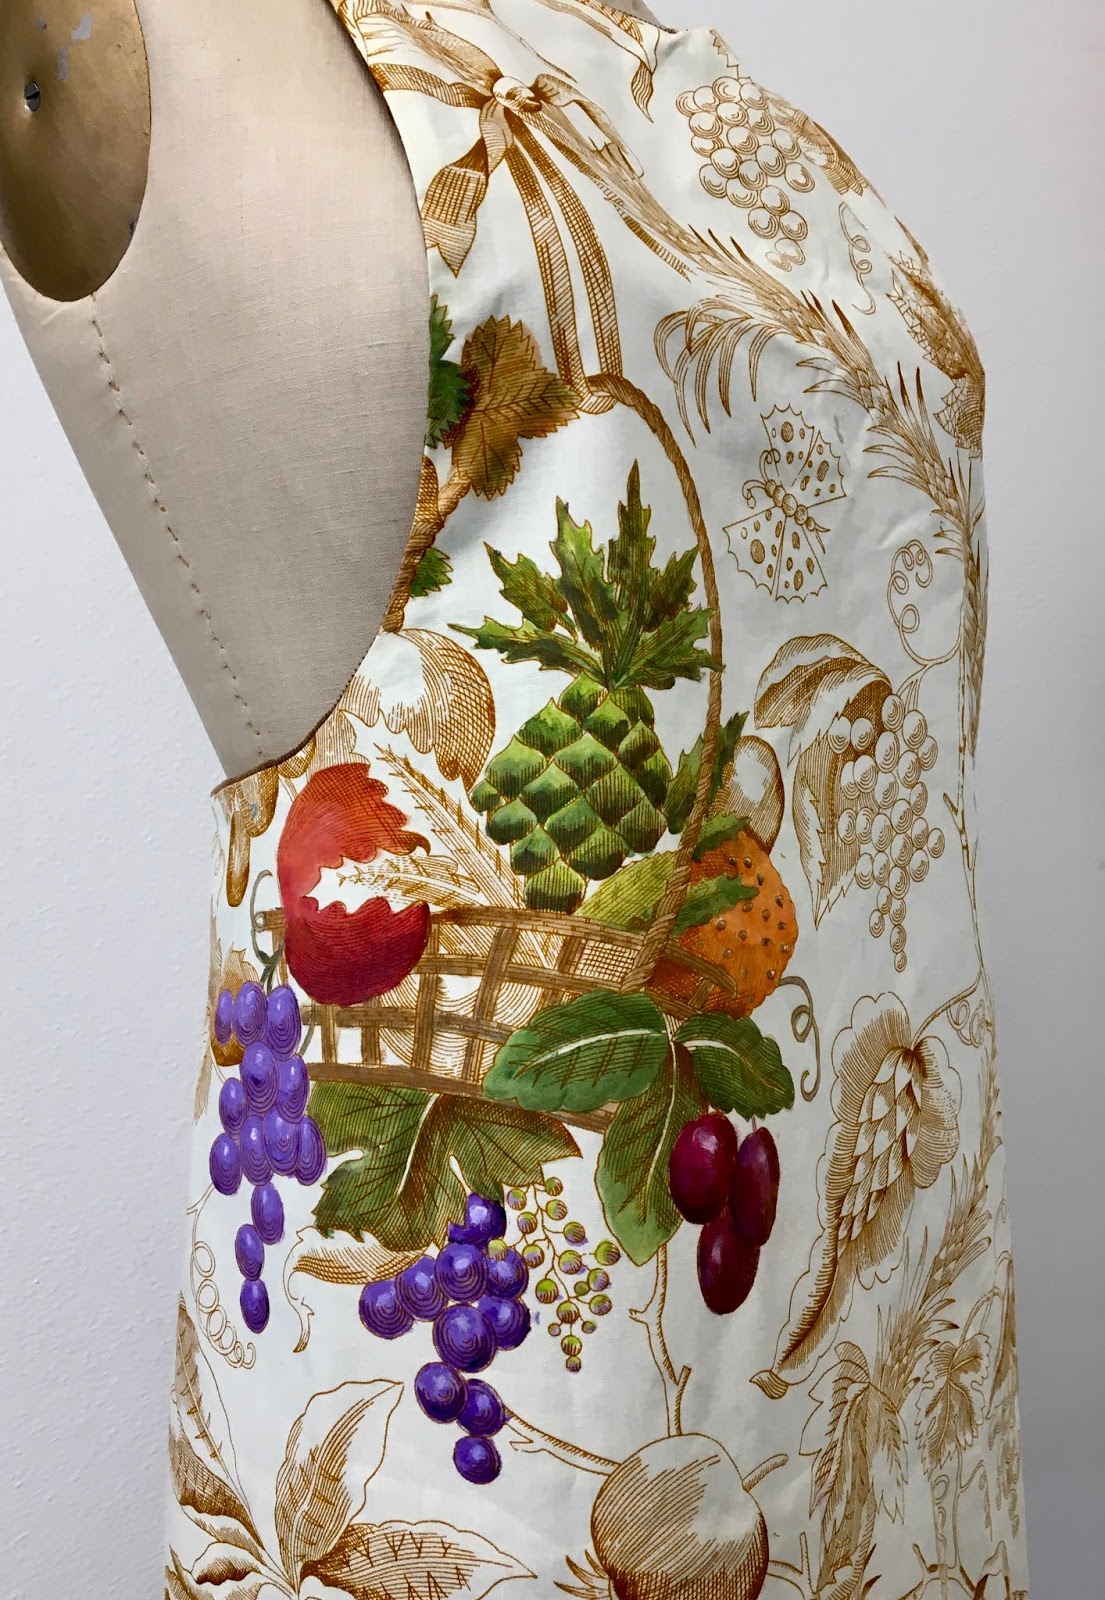
This is the Lee Jofa embroidered drapery fabric,
that I chose to carefully cut up, and use for appliqué on my latest apron design.
This fabric sells for $295 a yard.
Fortunately, this was just a memo sample.

I like it being both beautiful, and useful!
.